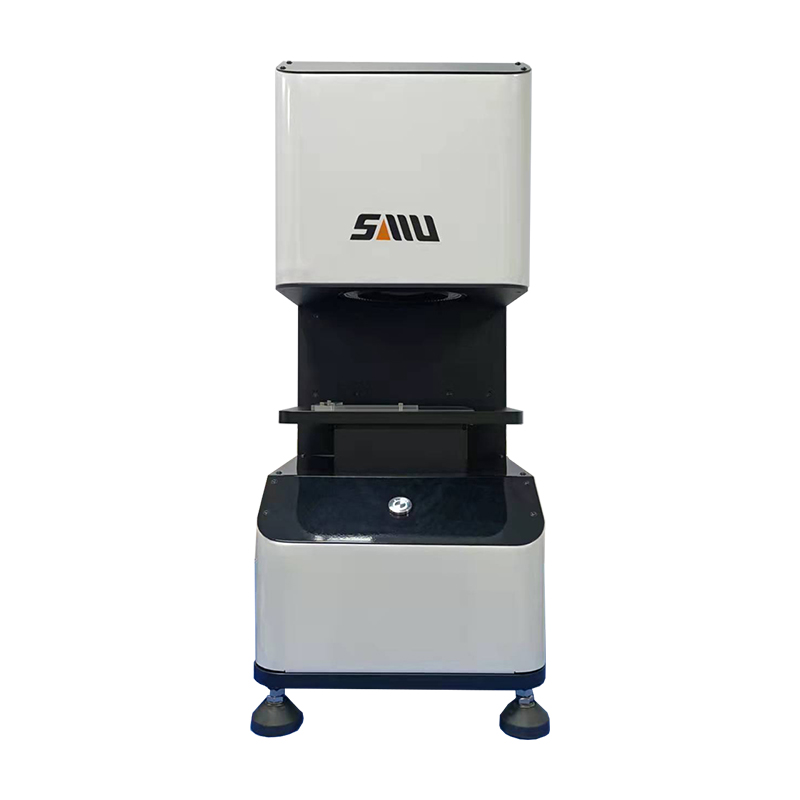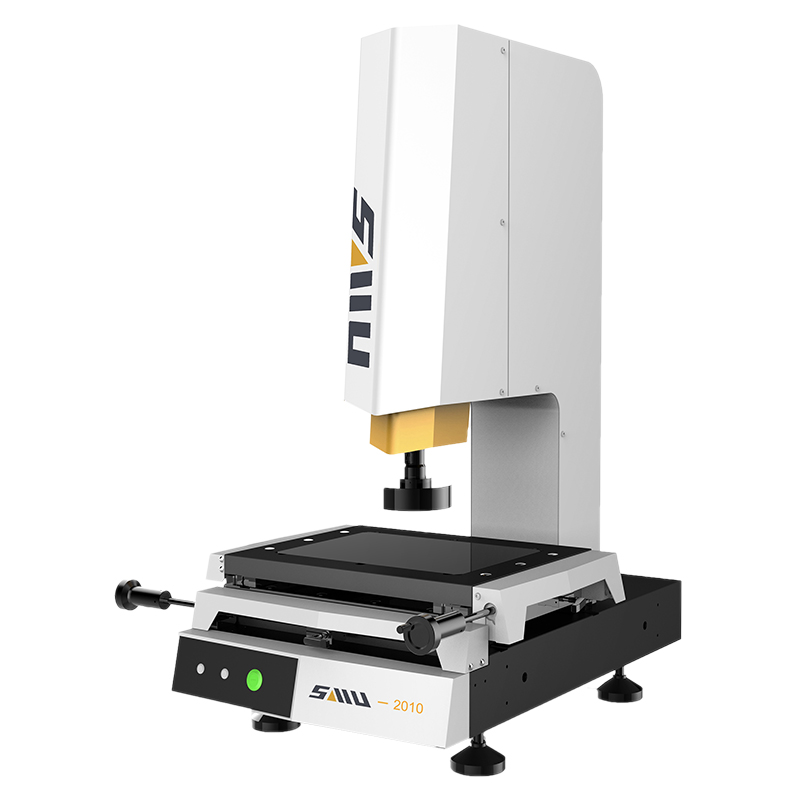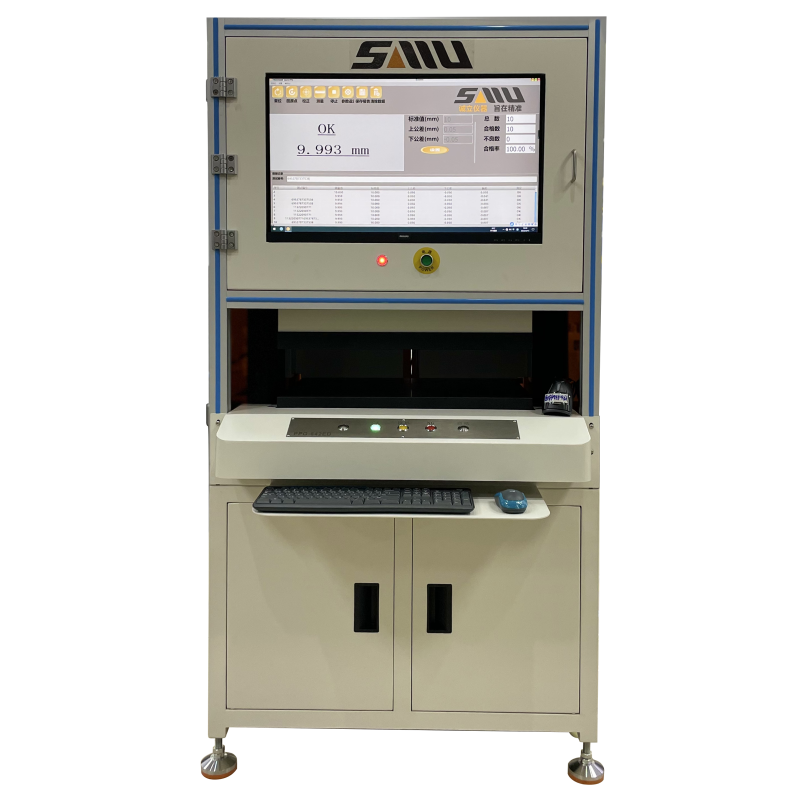
Ppg Lithium Battery Thickness Gauge Manufacturers – Bridge type automatic 2.5D Vision Measuring Machine – Chengli
Ppg Lithium Battery Thickness Gauge Manufacturers – Bridge type automatic 2.5D Vision Measuring Machine – Chengli Detail:
Parameters & Features
|
Model |
SMU-5060LA |
SMU-6080LA |
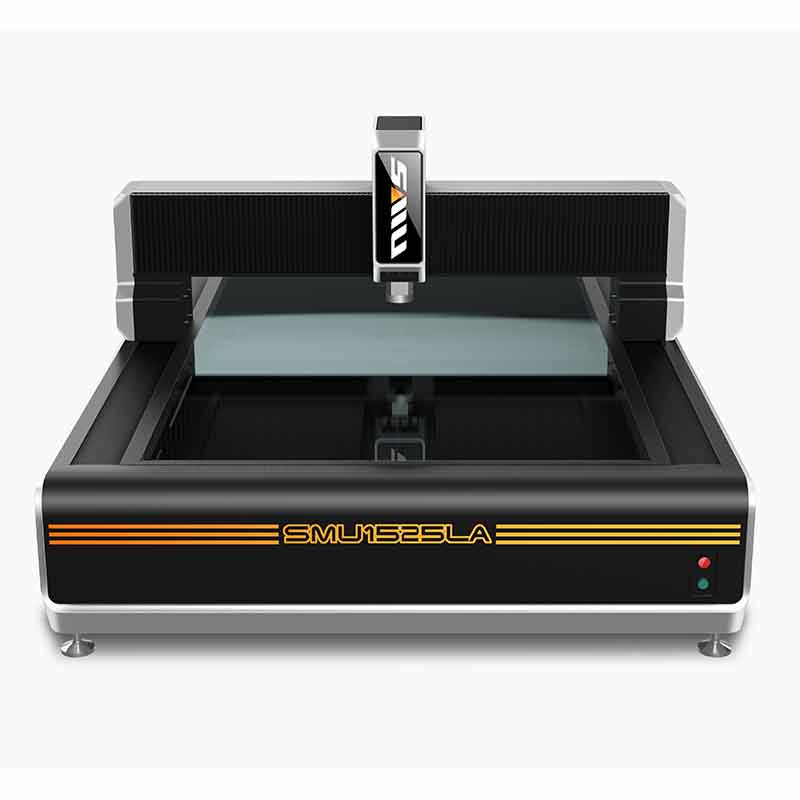
SMU-1525LA |
|
X/Y/Z measurement stroke |
500╳600╳200mm |
600×800╳200mm |
1500×2500╳200mm |
|
Z axis stroke |
Effective space: 200mm, working distance: 90mm |
||
|
XYZ axis base |
X/Y mobile platform:Jinan green marble; Z axis column: square steel |
||
|
Machine base |
Ji’Nan green marble |
||
|
Size of glass countertop |
660×840mm |
720×920mm |
580×480mm |
|
Bearing capacity of glass countertop |
30kg |
||
|
Transmission type |
X/Y axis: High precision cross drive guide and polished rod Z axis: High precision linear guide and screw rod |
||
|
Optical scale |
X/Y axis: High precision optical scale resolution: 0.001mm |
||
|
X/Y linear measurement accuracy (μm) |
≤2.8+L/200 |
≤3+L/200 |
≤5+L/200 |
|
Repetition accuracy (μm) |
≤2.8 |
≤3 |
≤5 |
|
Camera |
1/3″ HD color industrial camera |
||
|
Lens |
Auto zoom lens, optical magnification: 0.7X-4.5X, image magnification: 30X-300X |
||
|
Image system |
Image software: it can measure points, lines, circles, arcs, angles, distances, ellipses, rectangles, continuous curves, tilt corrections, plane corrections, and origin setting. The measurement results display the tolerance value, roundness, straightness, position and perpendicularity. The degree of parallelism can be directly exported and imported into Dxf, Word, Excel, and Spc files for editing which is suitable for batch testing for customer report programming. At the same time, part of and the entire product can be photographed and scanned, and the size and image of the entire product can be recorded and archived, then the dimensional error marked on the picture is clear at a glance. |
||
|
Image card: SDK2000 chip image transmission system, with clear image and stable transmission. |
|||
|
Illumination system |
Continuously adjustable LED light (Surface illumination +contour illumination), with lower heating value and long service life |
||
|
Overall dimension(L*W*H) |
1450×1250×1650mm |
2100×1400×1650mm |
3050×2450×1650mm |
|
Weight(kg) |
1500kg |
1800kg |
5500kg |
|
Power supply |
AC220V/50HZ AC110V/60HZ |
||
|
Computer |
Special host |
||
|
Display |
Philips 27 inches |
||
|
Warranty |
1 year warranty for the whole machine |
||
|
Switching power supply |
Mingwei MW 12V/24V |
||
|
***Other specifications of the machine can be customized. |
|||
Product Description
The mechanical structure of the large-stroke 2.5D bridge-type vision measuring machine is matched with the base of 00-grade natural marble, and it has the characteristics of high stability and high precision when measuring the workpiece in the high-speed operation mode. Its XYZ three axes all use AC servo motors with double closed-loop motion control, P-level guide rails and grinding screws, and the Z axis uses ultra-clear 4K cameras and lenses, and can achieve 2.5D measurement with MCP probes and lasers.

Environment of Instrument
1. Temperature and humidity
Temperature: 20-25℃, optimal temperature: 22℃; relative humidity: 50%-60%, optimal relative humidity: 55%; Maximum temperature change rate in the machine room: 10℃/h; It is recommended to use a humidifier in dry area, and use a dehumidifier in humid area.
2. Heat calculation in the workshop
Keep the machine system in the workshop operating in the optimum temperature and humidity, and the total indoor heat dissipation must be calculated, including the total heat dissipation of indoor equipment and instruments (lights and general lighting can be ignored).
1. Heat dissipation of human body: 600BTY/h/person.
2. Heat dissipation of workshop: 5/m2.
3. Instrument placement space (L*W*H): 3M ╳ 2M ╳ 2.5M.
3. Dust content of air
The machine room shall be kept clean, and the impurities greater than 0.5MLXPOV in the air shall not exceed 45000 per cubic foot. If there is too much dust in the air, it is easy to cause resource read and write errors and damage to the disk or read-write heads in the disk drive.
4. Vibration degree of machine room
The vibration degree of machine room shall not exceed 0.5T. Machines that vibrate in the machine room shall not be placed together, because the vibration will loosen the mechanical parts, joints and contact parts of the host panel, resulting in abnormal operation of the machine.
Power Supply
AC220V/50HZ
AC110V/60HZ
Product detail pictures:
Related Product Guide:
Well-run devices, expert profits group, and better after-sales companies; We have been also a unified huge family, everybody keep on with the organization worth "unification, determination, tolerance" for Ppg Lithium Battery Thickness Gauge Manufacturers – Bridge type automatic 2.5D Vision Measuring Machine – Chengli , The product will supply to all over the world, such as: Malaysia, Congo, Denver, Customer satisfaction is our goal. We are looking forward to cooperating with you and providing our best services to suit your needs. We warmly welcome you to contact us and make sure you feel free to contact us. Browse our online showroom to see what we can do for you. And then E-mail us your specs or inquiries today.
The customer service staff is very patient and has a positive and progressive attitude to our interest, so that we can have a comprehensive understanding of the product and finally we reached an agreement, thanks!

