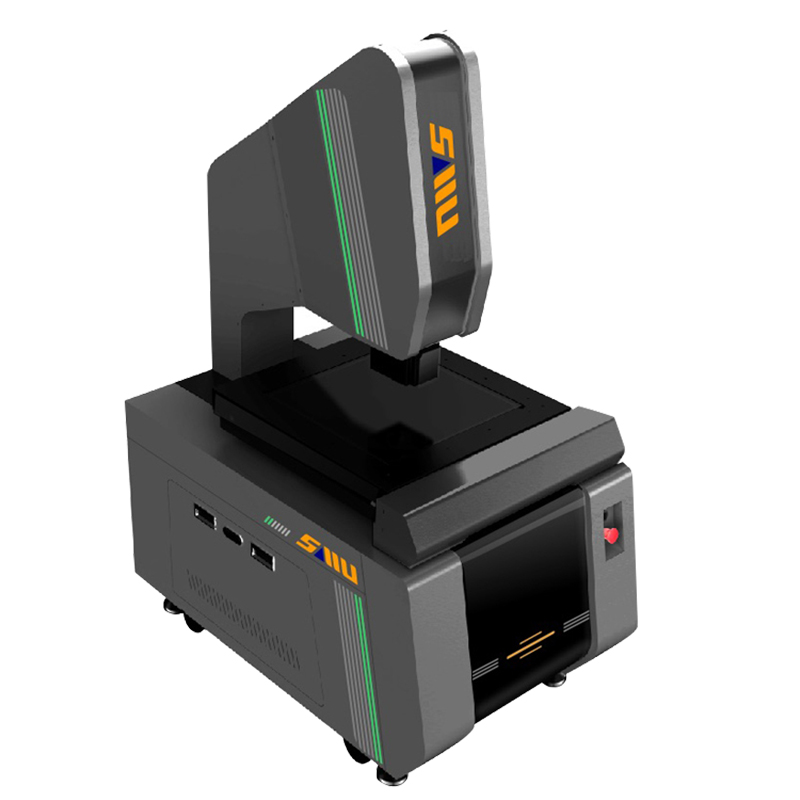
As a high-precision measuring equipment, CMM in the work, in addition to the measuring machine itself caused by the measurement accuracy error, there are many factors that may affect the accuracy of the measuring machine caused by measurement errors. The operator should understand the causes of these errors, eliminate all kinds of errors as much as possible, and improve the accuracy of parts measurement.

CMM error sources are numerous and complex, generally only those error sources that have a relatively large impact on the accuracy of the CMM and those that are easier to separate, mainly in the following areas.
1. Temperature error
Temperature error, also known as thermal error or thermal deformation error, it is not the error of the temperature itself, but the measurement error of the geometric parameters caused by the temperature factor. The main factor in the formation of temperature error is the measured object and the temperature of the measuring instrument deviates from 20 degrees or the size of the measured object and the performance of the instrument changes with the temperature.
Solution.
1) Linearity correction and temperature correction can be used in the software of the measuring machine to correct the influence of temperature for the environmental conditions at the time of field calibration.
2) Electrical equipment, computers and other heat sources should be kept at a certain distance from the measuring machine.
3) Air-conditioning should try to choose the inverter air conditioner with strong temperature control ability, and the installation position of the air conditioner should be reasonably planned. The air conditioner wind direction is prohibited to blow directly onto the measuring machine, and the wind direction should be adjusted upward to make the air form a large circulation to keep the indoor air temperature balanced due to the temperature difference between the upper and lower measuring room space.
4) Open the air conditioner at work every morning and close it at the end of the day.
5) The machine room should have heat preservation measures, the room doors and windows should be closed to reduce temperature dissipation and avoid sunlight.
6) strengthen the management of the measurement room, do not have extra people stay.
2. Probe calibration error
Probe calibration, calibration ball and stylus is not clean and not firm and input the wrong stylus length and standard ball diameter will make the measurement software to call the probe compensation file compensation error or error, affecting the measurement accuracy. Incorrect stylus lengths and standard ball diameters can cause compensation errors or mistakes when the software calls the probe compensation file during measurement, affecting measurement accuracy and even causing abnormal collisions and damage to the equipment.
Solution:
1) Keep the standard ball and stylus clean.
2) Ensure that the head, probe, stylus, and standard ball are securely fastened.
3) Enter the correct stylus length and standard ball diameter.
4) Determine the accuracy of the calibration based on the shape error and the calibrated ball diameter and repeatability (the calibrated ball diameter will vary depending on the length of the extension bar).
5) When using different probe positions, check the calibration accuracy by measuring the coordinates of the center point of the standard ball after calibrating all probe positions.
6) In the probe, stylus moved and measurement accuracy requirements are relatively high in the case of the probe to be recalibrated.
3. Measurement personnel error
In any work, people have always been one of the most important factors leading to error, in the operation of the CMM, personnel error is often occurring, the occurrence of this error and the professional level of personnel and cultural quality has a direct relationship, CMM is a variety of high-tech technology in one of the precision instruments, so there are strict requirements for the operator, once the operator improper use of the machine If the operator does not use the machine properly, it will lead to the error.
Solution:
Therefore, the operator of the CMM not only requires professional technology, but also has a high degree of enthusiasm and responsibility for the work, familiar with the operation principle of the measuring machine and maintenance knowledge, in the operation of the machine can effectively play a functional measuring machine, and improve the effectiveness of its work, so as to obtain the highest economic benefits for the enterprise.
4. Measurement method error
Coordinate measuring machine is used to measure dimensional errors and dimensional tolerances of parts and components, especially for the measurement of dimensional tolerances, which shows its advantages of high accuracy, high efficiency and large measurement range, and there are many kinds of measurement methods for dimensional tolerances, if the detection principle used in measuring dimensional tolerances is not right, the selected method is not perfect, not strict, not exact, it will cause measurement method errors.
Solution:
Therefore, those who are engaged in the work of CMM must be familiar with the measurement methods, especially the detection principles and measurement methods of form tolerance should be very familiar with in order to reduce the error of measurement methods.
5. The error of the measured workpiece itself
Because the principle of measuring machine measurement is to take the points first, and then the software to take the points to fit and calculate the error. So the measurement machine measurement of the shape of the part error has certain requirements. When the measured parts have obvious burrs or trachoma, the repeatability of the measurement becomes significantly worse, so that the operator can not give accurate measurement results.
Solution:
In this case, on the one hand, the shape error of the measured part is required to be controlled, and on the other hand, the diameter of the gemstone ball of the measuring rod can be increased appropriately, but the measurement error is obviously larger.
Post time: Oct-21-2022

